
Are you looking for an effective and inexpensive way to cook meals while camping? An efficient camping stove can be the perfect solution. In this blog post, we’ll explore how to make your own camping stove, quickly and inexpensively.
A camping stove is a great way to keep your food warm and your hands safe while camping outdoors. With the right materials and a few easy steps, you can make a stove that is both lightweight and efficient. To make your own camping stove, you will need a few basic materials such as a metal can, fuel, and some basic tools.
First, you’ll need to cut a hole in the side of the can for air intake. This will allow your stove to burn more efficiently. After that, you’ll need to make a hole in the lid of the can for fuel. Now you’re ready to add fuel and light your stove.
In addition to these steps, there are a few safety considerations to keep in mind when using a homemade camping stove. We’ll cover these tips in the next section.
In this blog post, we’ll discuss the materials and steps required to make a camping stove. We’ll also cover safety tips and considerations for using a homemade camping stove. So if you’re ready to make your own camping stove, let’s get started!
How to Make a Camping Stove in 2026
Materials Needed for a Camping Stove
Before you start building your camping stove, you’ll need to gather the materials you need. Here’s a list of the materials you’ll need to make a camping stove:
- Two empty cans, such as soda cans or soup cans
- A utility knife
- Scissors
- A drill
- A metal file
- A piece of cardboard
- Aluminum foil
- A small piece of wire
- A lighter or matches
- Fuel such as rubbing alcohol, denatured alcohol, or white gas
Instructions for How to make a Camping Stove | Step-by-step
Now that you’ve gathered your materials, it’s time to start building your camping stove. Follow these steps to make your own camping stove:
Step 1: Preparing the Cans
The first step is to prepare the two cans you’ll be using for your camping stove. Start by using the utility knife to cut the top off one of the cans. Make sure to leave the bottom intact. Then use the scissors to cut the sides of the can. This will create a large opening for your fuel to enter the stove.
Next, use the utility knife to cut several small holes in the bottom of the second can. These holes will be used to regulate the flame of your stove.
Step 2: Drilling Holes in the Can
Once the cans are prepared, it’s time to start drilling holes in them. Start by drilling a large hole in the side of the first can. This hole should be big enough to fit the metal wire. Then drill four small holes around the bottom of the second can. These four holes will be used to regulate the flame of your stove.
Step 3: Adding the Wire
Now it’s time to add the wire. Start by feeding the wire through the large hole in the side of the first can. Then loop the wire around the top of the second can. Make sure to leave enough slack so that the wire is not too tight.
Step 4: Making the Burner
Now it’s time to make the burner. Start by cutting a square piece of cardboard that is slightly larger than the second can. Then use the scissors to cut out a circle in the center of the cardboard. This will create an opening for the fuel to enter the stove.
Next, use the aluminum foil to cover the cardboard. Make sure to leave the center circle open. This will create a burner that will allow the fuel to burn more evenly.
Step 5: Finishing the Stove
Finally, it’s time to finish your stove. Start by filling the first can with fuel, such as rubbing alcohol, denatured alcohol, or white gas. Then place the second can on top of the first can and secure it with the wire.
Make sure to leave enough slack in the wire so that the cans can move freely. This will allow you to regulate the flame of your stove.
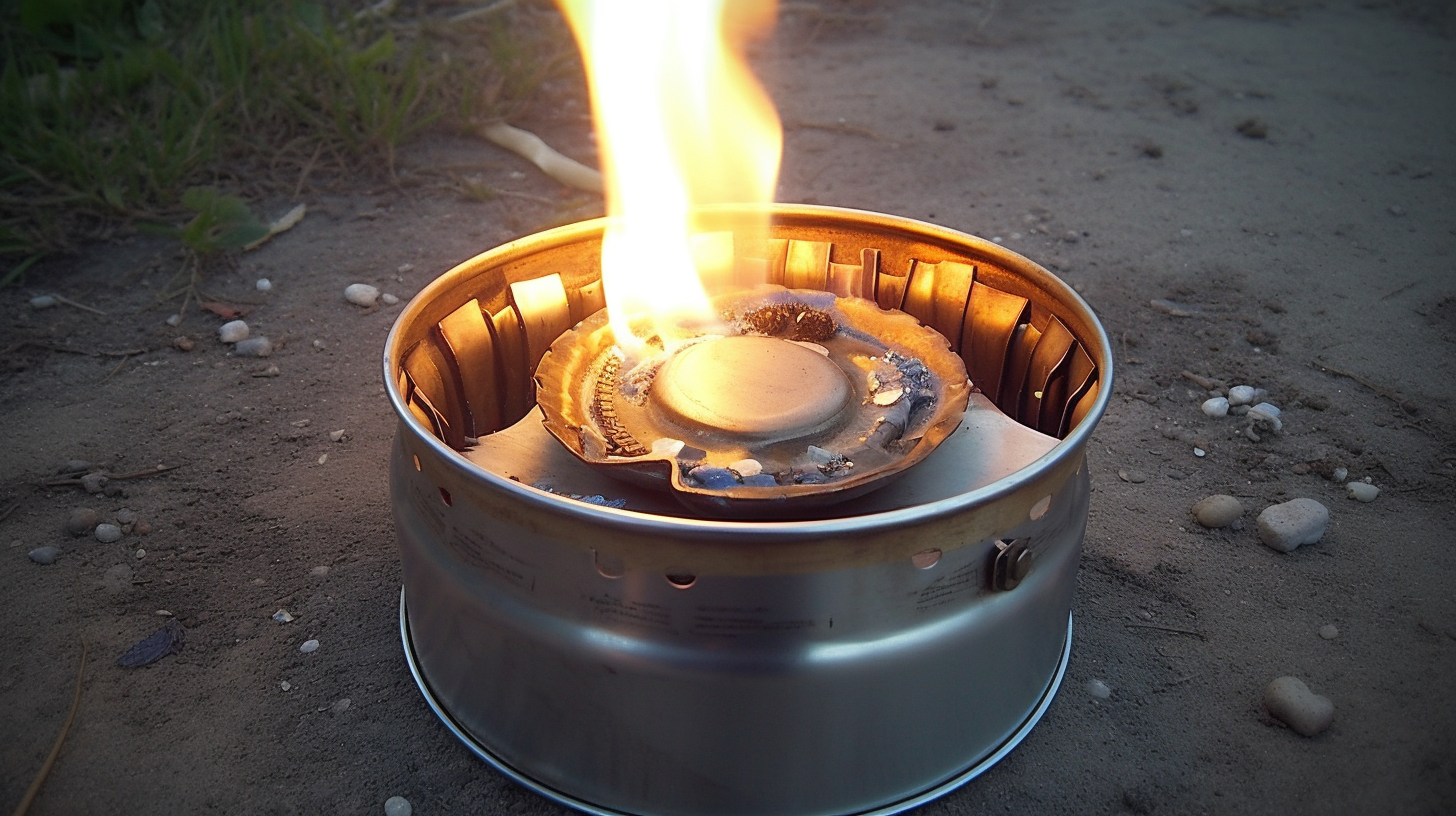
Step 6: Lighting the Stove
Once your stove is assembled, it’s time to light it. Start by using a lighter or matches to light the fuel in the first can. Then adjust the flame by loosening or tightening the wire.
Once the flame is set, you can begin cooking your food. Be sure to be careful when working with the stove, as it can get very hot.
Tips for Making a Camping Stove
Making a camping stove can be a fun and rewarding experience, but it is important to follow a few simple tips. Here are some tips to keep in mind when making your camping stove:
- Make sure the cans are clean and dry before you start building your stove.
- Make sure to drill the holes in the cans carefully, as the stove will not work properly if the holes are too big or too small.
- Make sure to use a fuel that burns cleanly and is safe to use.
- Make sure to use caution when lighting and using the stove, as it can get very hot.
- Make sure to keep the stove away from flammable materials and children.
How to make a camping stove | FAQs
What materials do I need to make a camping stove?
To make a camping stove, you will need aluminum cans, a knife, a drill and drill bits, sandpaper, a marker, and a few screws. You’ll also need some fuel to get the stove started.
How long does it take to make a camping stove?
It typically takes about an hour to assemble and prepare a camping stove. This does not include sourcing materials or gathering fuel.
How do I use a camping stove?
To use a camping stove, make sure the fuel is loaded and the stove is set up on a stable surface. Light the fuel with a match or lighter and adjust the flame to the desired level. Make sure to use the stove in a well-ventilated area, and never leave it unattended.
What type of fuel should I use in a camping stove?
The best type of fuel to use in a camping stove is a liquid fuel such as white gas, kerosene, or unleaded gasoline. You should never use gasoline with an octane rating higher than 87.
Is it safe to use a camping stove indoors?
No, it is not safe to use a camping stove indoors. A camping stove should only be used outdoors in a well-ventilated area.
How to make a camping stove | Final Thoughts
Camping stoves are a great way to enjoy a hot meal, even when you’re out in the wilderness. With the right materials and a little bit of know-how, you can easily make your own camping stove. Here’s what you need to do:
First, you’ll need to collect your materials. This includes a can, a pair of scissors, a drill, and a few pieces of metal. Once you have everything you need, you can begin the assembly process. Cut a hole in the side of the can to create an air vent, then use the drill to make holes in the bottom of the can. This will allow the fuel to burn and heat your food.
Next, place the metal pieces inside the can. This will create a grate for your food to sit on and help to spread the heat evenly. Finally, add your fuel and light it.
Now that you know how to make a camping stove, you can enjoy hot meals on your next camping trip. Not only will it make meals taste better, but it can also save you money in the long run. Plus, you’ll have a unique piece of camping gear that you made yourself.
Making your own camping stove is a great way to save money and add a personal touch to your camping gear. With a few simple steps, you can easily make your own stove and enjoy hot meals on your next camping trip. Why not give it a try?